
Objectives
Our goals with this showcase were:
- Incorporating interaction with objects
- Merging the virtual and physical worlds
- Positioning the hologram in the virtual world
- Interaction with holograms via eye tracking
Script
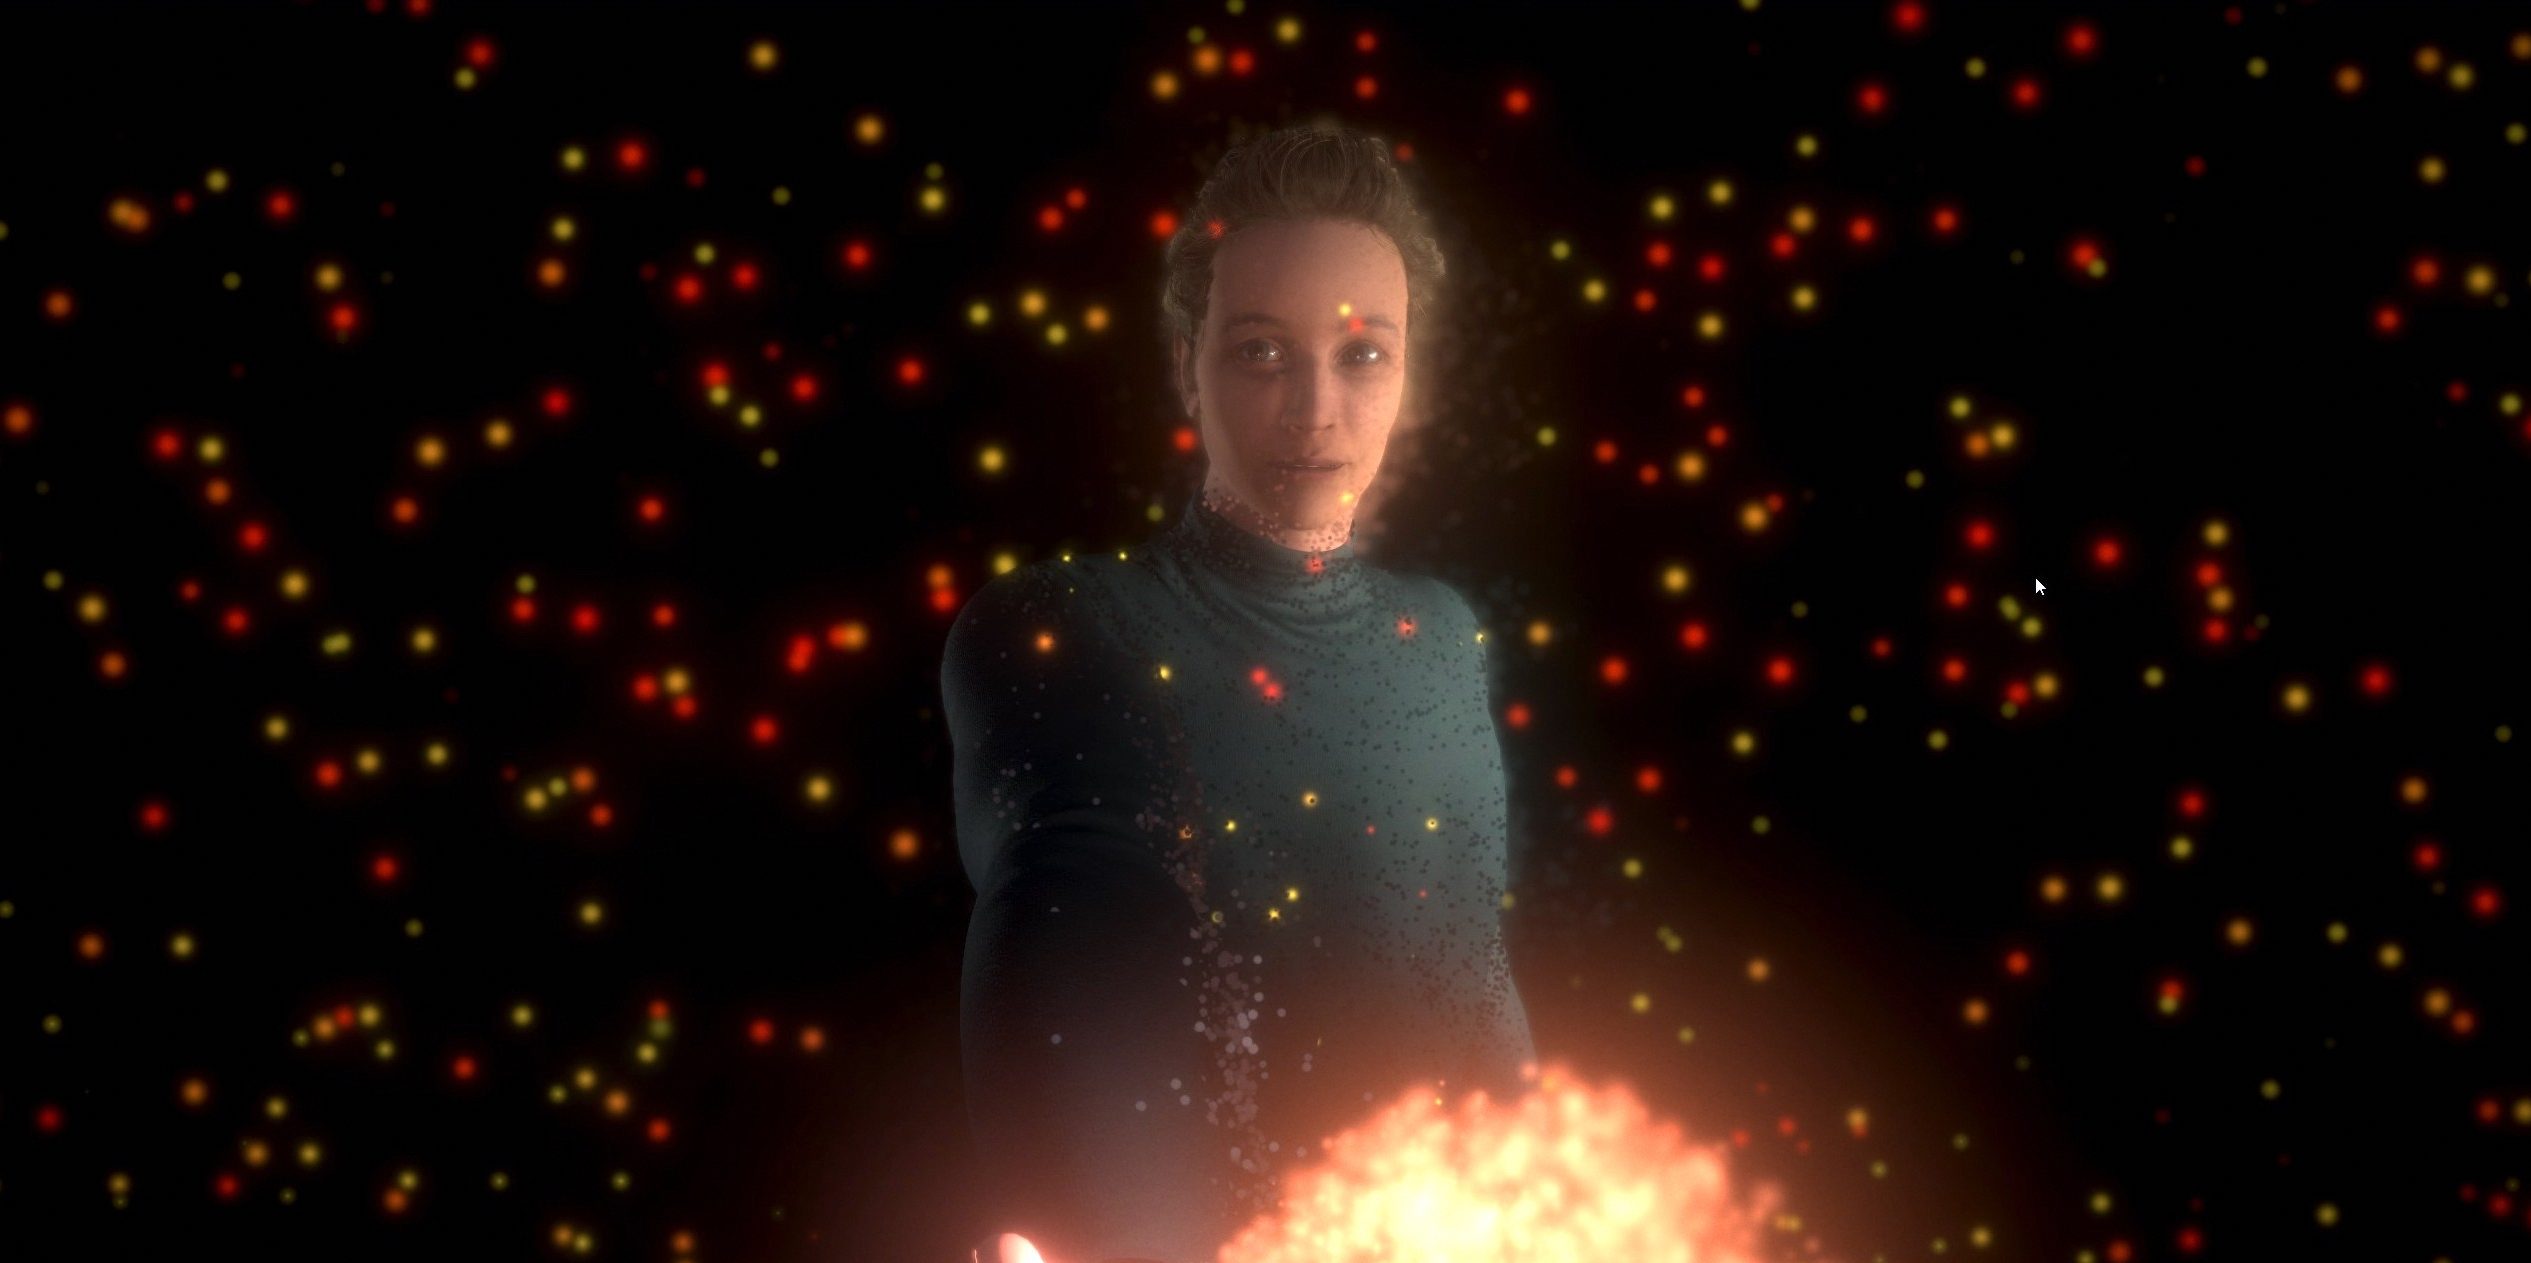
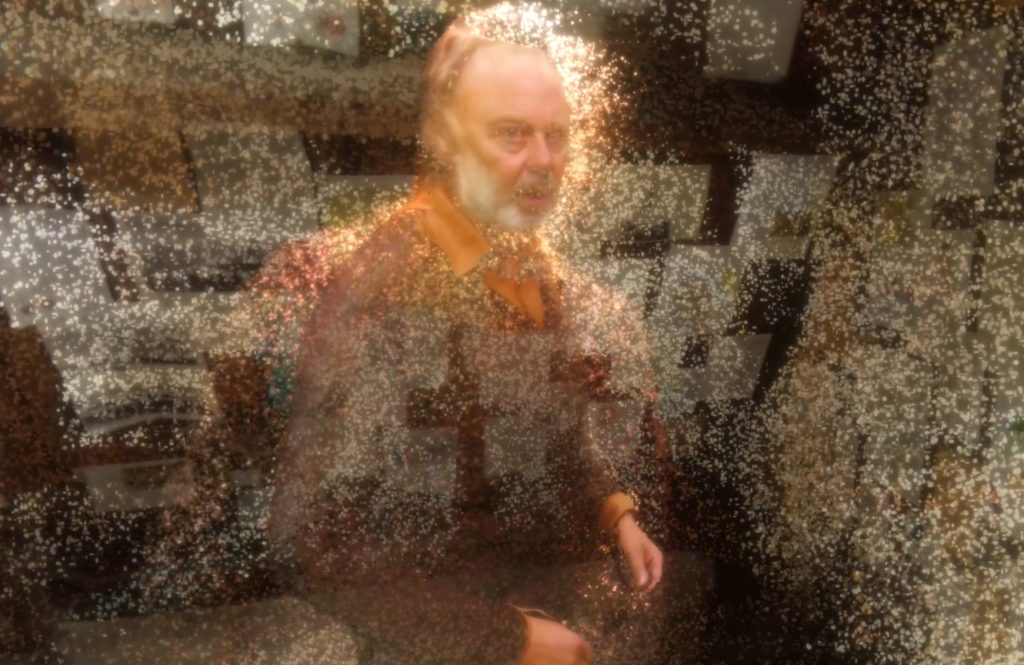
You are in an attic space with an elderly man. He’s sitting behind a desk and talking to you. He hands you notes from the desk. As you pull them closer to your face, you see that these are part of a hand written diary. The entire attic space has notes taped to the walls. The man rises from his chair and gestures for you to follow him to the window. You stand next to him and look outside. He turns to you and continues sharing his thoughts about the rain. Outside, the entire landscape is flooded.
Workflow
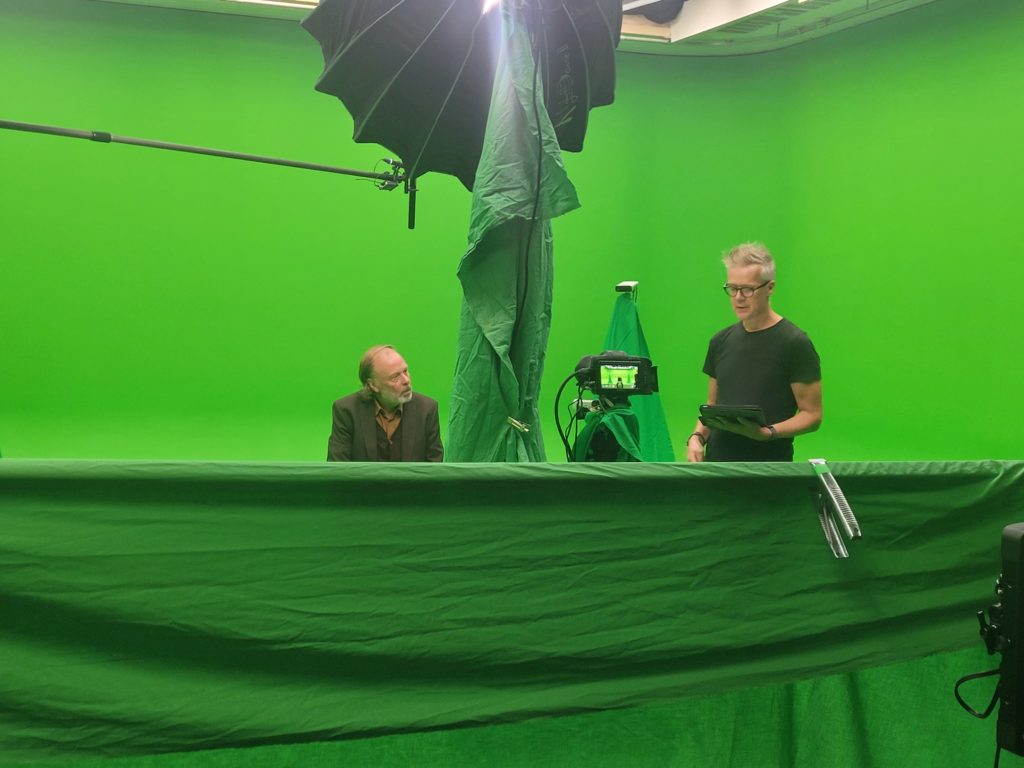
We utilized volumetric capturing, photogrammetry, and VFX techniques. Our project involved both a capture team and a post-production team. The core members of the capture team included the director, creative producer, Director of Photography (D.O.P), and a volumetric video specialist. The core post-production team comprised the director, producer, lead Unity developer, Unity developer, and technical artist. The software utilized in this showcase included HoloSuite, Blender, Resolve, and Unity.
Outcomes
The planned interaction setup was largely successful. The handling of a note by the viewer worked smoothly, and tracking the protagonist to the window proved effective in this brief VR experience. We maintained constant awareness of the viewer’s position in space and skillfully integrated the physical and virtual environments. Moreover, we are pleased with the overall ambiance of the attic environment, which seamlessly blends point cloud and concrete mesh elements. This design approach remains consistent throughout the entire project.
However, certain aspects of interaction, such as head rotation and eye-tracking-based interaction, did not yield entirely successful results. We acknowledge the requirement for more specialized developers, particularly in the area of shaders. These insights have been taken into account for Showcase 2.


Depth kit
Step – by – step plan for working with Depth Kit
There are several steps involved in creating volumetric capture using Depthkit. Each of these steps has numerous variables that need to be carefully checked to ensure a successful capture.
Preparation:
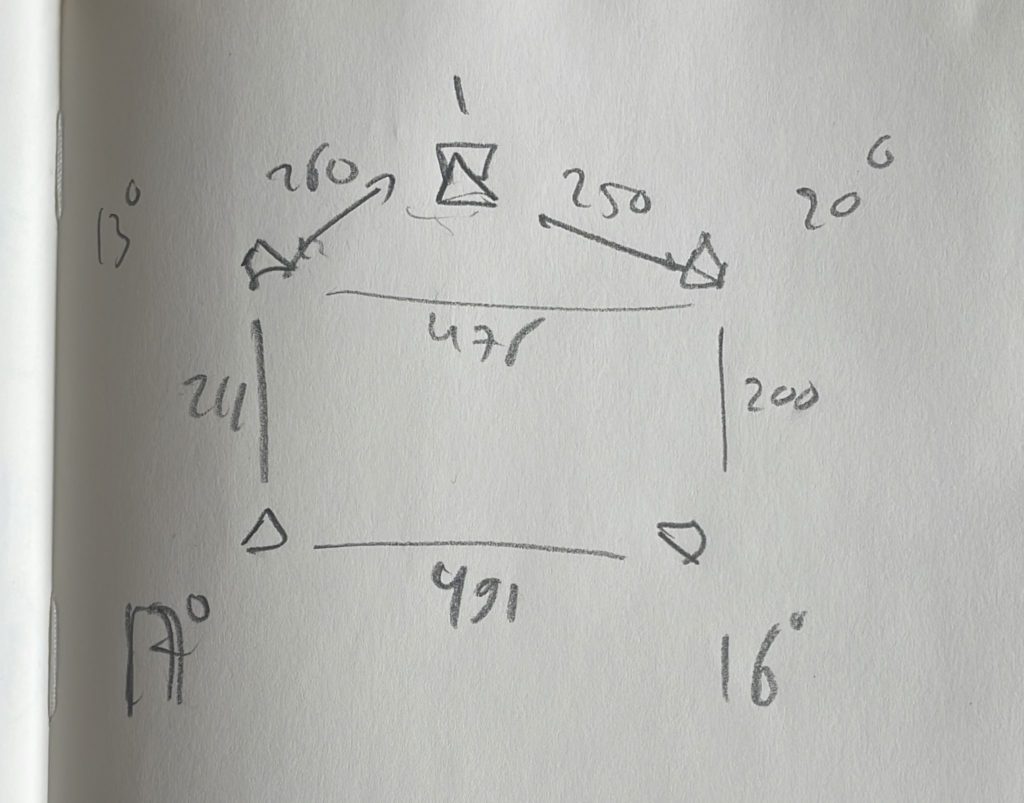
- Set up sensors to cover the entire capture volume.
- Create a lens profile to correct distortion.
- Pair the camera with the sensor.
- Perform sensor calibration.
Post-processing:
- Masking.
- Color grading.
- Lens correction profile.
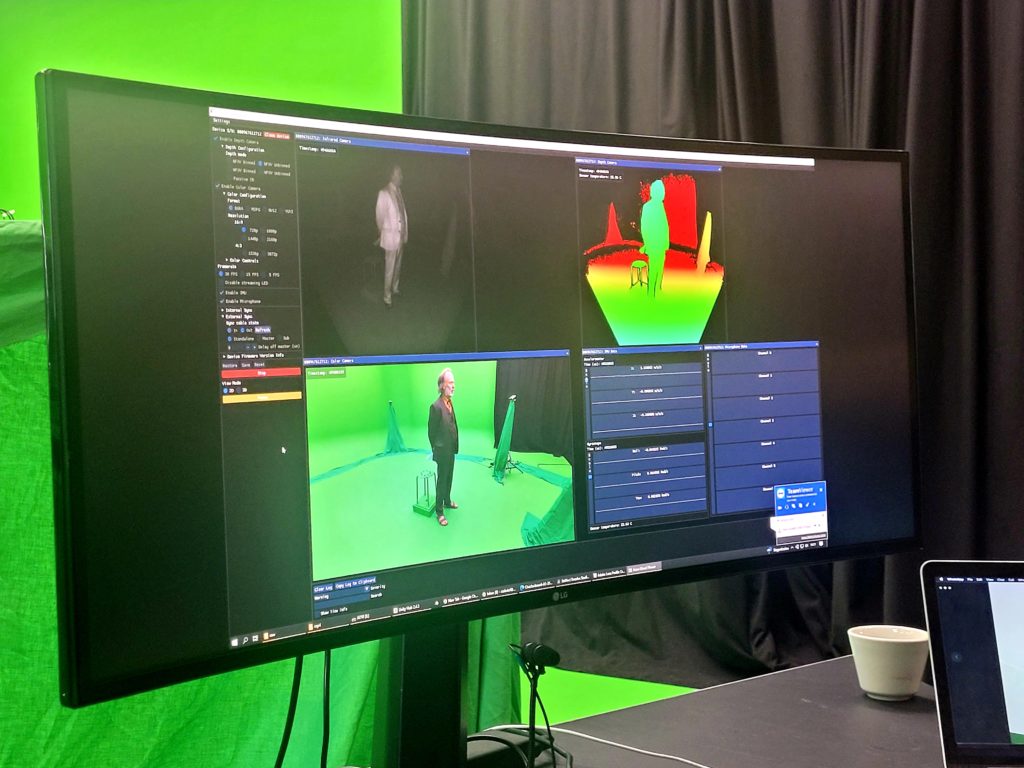
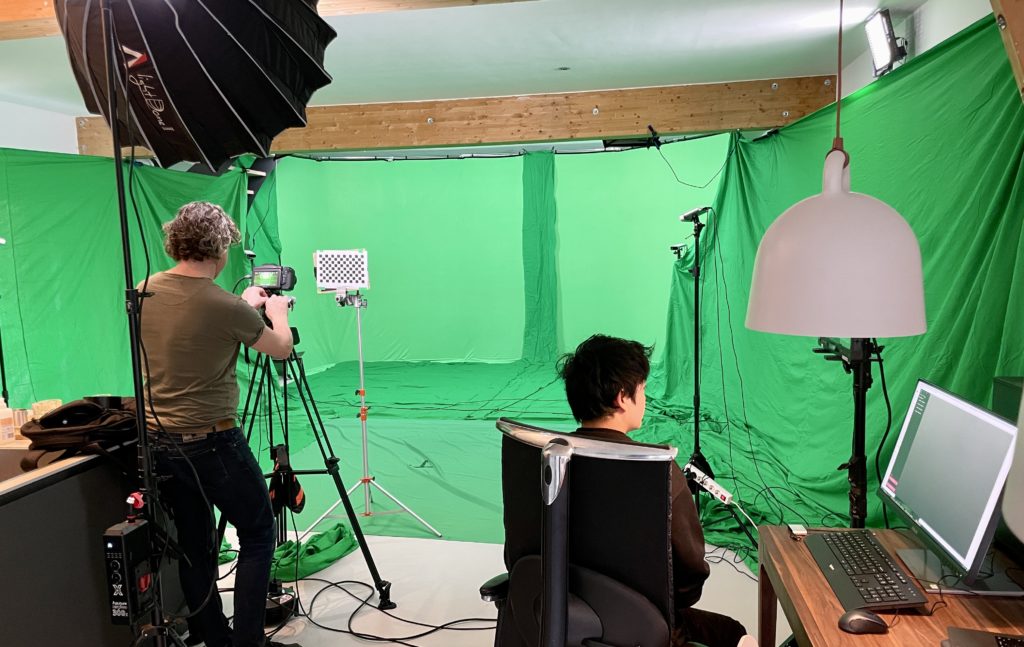
We used a BlackMagic 6K camera to obtain the highest quality image possible. This footage will be overlaid on the Kinect’s depth data. To calibrate our camera’s lens with the Kinect’s, it’s necessary to create a lens profile using Adobe’s “Lens Profile Creator.” This involves capturing a calibration chart from different angles. Once created, the lens profile can be imported into Depthkit.
Camera Pairing: To pair the camera with the sensor, it’s essential to capture samples on both devices using another calibration card. These sample footages need to be paired together. The more samples you capture, the more data you’ll have, leading to better calibration results.
Sensor Calibration: The final step involves calibrating each individual sensor with each other, using the same calibration chart as before. Once again, collecting numerous samples is crucial, this time for each pair of sensors.”
Tips from the team
Masks & Head Retargeting
Preparing the Masks
To achieve a clean result in volumetric capture, it’s essential to create ‘masks’ to indicate which parts of the data the software should process and which to exclude.
Azure Kinect
For each shot’s 4 sensors (excluding the front sensor), isolate the foreground actor from the background using Resolve. The most efficient and effective method is the “Magic Mask” functionality. Place a white matte on the isolated actor and export the video mask as a 1440p 8-bit MP4.
Cinema Camera
Isolate the foreground actor from the background in Resolve, place a white matte on the isolated actor, and export the video as a 4K 8-bit MP4.
Assembly and Image Sequence Export
After creating the masks, link them to the captured footage in Depthkit. Here, you can refine settings and define areas of interest. Export as an image sequence for maximum quality.
Depthkit
Bring each mask into Depthkit for assembly. Load the video masks and crop as much as possible. Sync the timecodes between the front sensor footage and cinema camera footage. Export as a CPP image sequence with adequate resolution. For real-time playback in Depthkit, export it as CPP Video.
3D Model Sequence Export
Using the image sequence, Depthkit’s Unity plugin can convert it into a 3D object sequence. This is necessary for the rigging process.
Unity
Download and install the required Unity versions and packages/plugins. Import the image sequence into the StreamingAssets folder. Drag it into a timeline playable and connect the metadata file. Export as a PLY sequence with textures, using “meters” as the metric.
Head Retargeting
The technical challenge was to make the volumetric capture dynamically respond to the viewer’s position in space. We weren’t working with traditional 3D meshes. 3D meshes can be bound to skeletons, which can then be manipulated.
Drawing from 3D design expertise, the idea was to explore vertex deformations. A 3D object consists of vertices, which we can manipulate and link without a skeleton rig.
Vertex Manipulation
This is usually done through a “shader” in game engines. The swaying of grass, movement of trees, or animation of fish are often achieved this way. Creating a deformation shader was relatively quick. However, Depthkit doesn’t display 3D objects traditionally, making the deformation process different.