

Objectives
Showcase 2 builds upon the lessons and unresolved issues identified in Showcase 1. Our focus areas included:
- Refining aspects of interaction, such as head rotation and interaction through
eye tracking. - Enabling interaction with the hologram’s hand.
- Implementing 360 audio positioning
The goal was to combine volcap (3D video) and Character Creator/Move.ai (3D models) in this showcase. Volcap provided a realistic ‘human’ image, while the formats of the 3D models from Character Creator/Move.ai allowed for manipulation and interaction. This enabled customization of the characters according to the desired style and performance. The greatest challenge lay in the transition between both techniques. Our developer team diligently worked to ensure that this integration aligned seamlessly with the style and remained invisible to the viewer.
Script
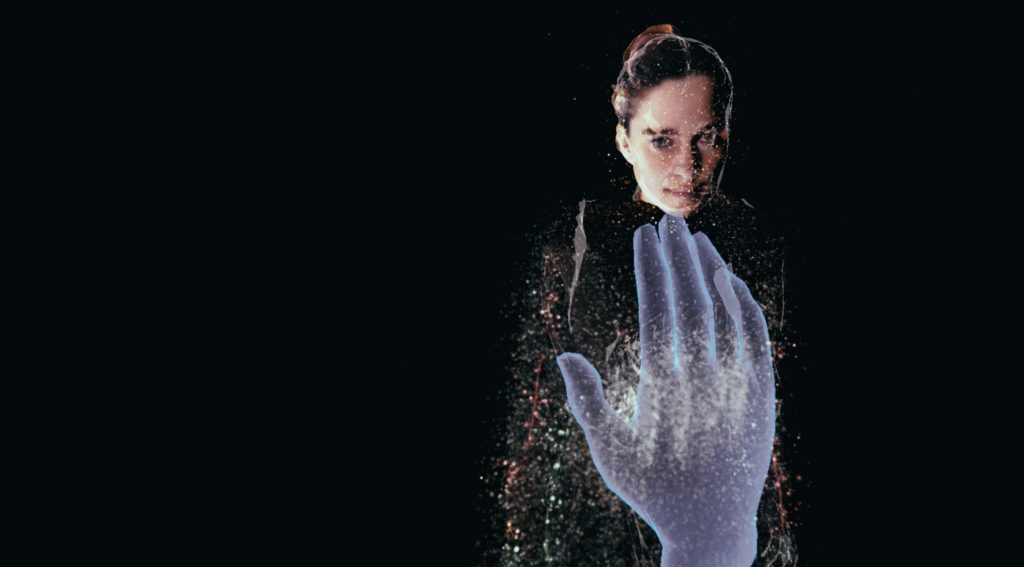
Interaction with a-cappella singers in a VR environment
You enter a dark performance space. Four women appear from one of the edges of the space; they are singing, a cappella (soloists from the Cappella Amsterdam). They walk towards you and form a circle around you. They maintain eye contact with you, even if you move and change position. If you break the circle formation, the women will follow you and form a new circle around you. If you come too close to one of the singers or try to walk through her, she stops singing and the other three voices remain. If you reach out your hand to one of the women, she will reach out back to you. The moment your palms touch, the three other singers disappear. The voices are independent sound sources; they sound from the exact position of the performers. If you move, the audio balance between the voices changes; if you get close to one of the singers, her voice overpowers the other three voices.
Workflow
Due to the increasing complexity of interactivity in our showcases and the rapid pace of technological advancements, we decided to explore not just one but two paths in Showcase 2. These paths involved experimenting with interactive Volumetric Capture in Unity and utilizing MetaHuman in Unreal Engine and with Reallusion Character Creator.
During our MetaHuman journey and research into initiatives in this field, we established a partnership with the company Reallusion. This collaboration allowed us to complement our research with programs like Character Creator 4, Headshot, and iClone 8. These programs enabled us to create 3D human models based on a few photos and incorporate animations using an iPhone. The rapid development of AI introduced other tools to the market that were highly useful in interactive volumetric production. One of these innovations was markerless motion capture, with our focus at that time being on Move.ai.
Team
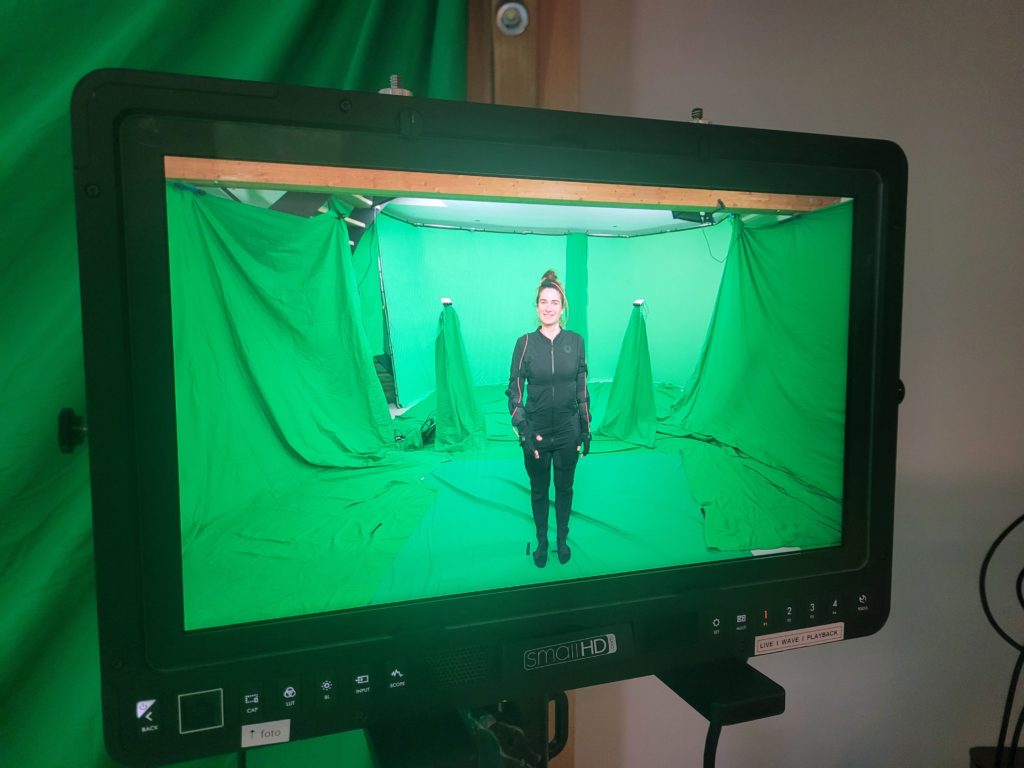
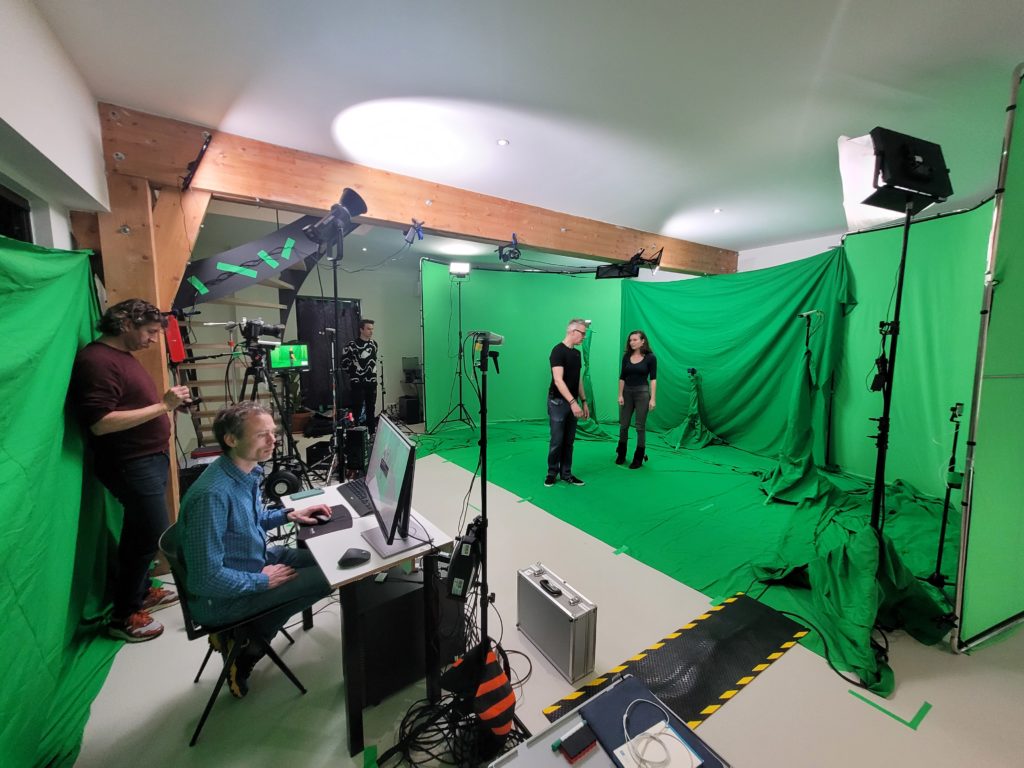
For this showcase, we collaborated with a creative team, a capture team, and a diverse group of developers. The capture team consisted of a director, creative producer, capture lead (volcap), Move Ai operator, DOP, sound engineer, and four singers from Capella Amsterdam. Our team of developers spanned various disciplines, and we welcomed a shader specialist to our ranks.
Outcomes
We initiated our research with the idea that we could create holograms through interactive volumetric capture in a desirable style, aligning with Michel’s vision. Particularly, achieving this desirable style posed intriguing challenges for us. We operated with the realism of humans but in a poetic and abstract manner. To make this style work, we were challenged to look beyond just interactive volumetric video. To accomplish this goal, we concluded that we wanted to combine interactive volcap and digital humans. We found that in order for the combination of VolCap and digital twins to work together, the digital twin really needs to look very similar to the VolCap recording. In our tests, the digital twins looked too different, and the transition was therefore rather abrupt. We decided to focus on creating a better-looking digital twin in Showcase 3 and dive deeper to harness the possibilities of the latest versions of Reallusion software.


Pipeline
Steps to Work with Character Creator and iClone
- Using Headshot to create a matching face texture.
- Sculpting the face using Character Creator’s sculpting features.
- Sculpting the body using Character Creator’s sculpting features to match the body to a reference image.
- Attaching hair and clothing to the prepared model.
- Exporting the model to Reallusion’s iClone.
- Combining MoveAI motion data in iClone with AccuLips lip sync.
- Exporting iClone animation back to Character Creator.
- Exporting iClone Morph data and Character Creator motion data to Unity.
- Lip syncing in iClone.
1. Headshot
Importing a frontal photograph of a person into Character Creator’s Headshot initiates an automated process. The photograph is used to create a front texture for the face model, and certain sculpt targets are designated to automatically fit the face’s curvature.
The better the image, the better the match.
It’s recommended to take photographs from all angles of the subject; these will be used as a reference, not for automatic generation.
2. Sculpting the Face
Within Character Creator, you can tweak the sculpt by selecting a sculpt surface designation and dragging it left/right or up/down. This allows for micro-adjustments to the face.
Using this method, we managed to create a face that matches the subject’s facial features.
3. Sculpting the Body
Using the same method as with the face, you can also sculpt surface designations on the body. By selecting a designation, you can use additional sliders under the “modify” panel for further micro-adjustments.
To get the sizing right, we used resources available from YouTube and a human scale dummy here. After importing the dummy, we resized the Z-axis to 172 cm, matching the subject’s height.
It’s recommended to take multiple photographs of the subject to capture their contours.
4. Attaching Clothing and Hair
Reallusion’s Character Creator comes with a storefront that offers clothing options compatible with the software. It also provides preset assets within the application.
We used these assets to quickly attach and tweak hair and clothing, making sure to disable underwear to prevent mesh clipping later on.
5. Exporting to Reallusion’s iClone
Sending the model to iClone for further animation and lip-syncing adjustments is straightforward using the integrated ‘Send to iClone’ feature.
6. Combining MoveAI Motion Data and AccuLips Lip-Sync Data
Combining animation sets was fairly simple. The MoveAI data imported easily using a custom profile made by Reallusion. Both sets of motion data could then be synchronized within the iClone timeline.
7. Exporting iClone Data Back to Character Creator
Here we faced our first hurdle. iClone lacks a ‘Send to Character Creator’ button. The solution we found was to export as an FBX file. However, the FBX export includes the full model and texture and unfortunately did not import well back into Character Creator.
8. Exporting to Unity
We combined motion data from Character Creator with morph data from iClone in Unity. Cleaning up the .anim file within Unity involved removing all properties related to bones. With some adjustments to the animator, we managed to create a fully animated character.
9. Lip-Syncing in iClone
Direct exporting to Unity resulted in FBX export failures. However, exporting to a folder outside of Unity resolved this issue. The exported .WAV file and motion data from iClone synced almost perfectly in Unity. Adjusting the update mode in the animator to “unscaled-time” ensured the animations stayed in sync with the .WAV file.
Learnings
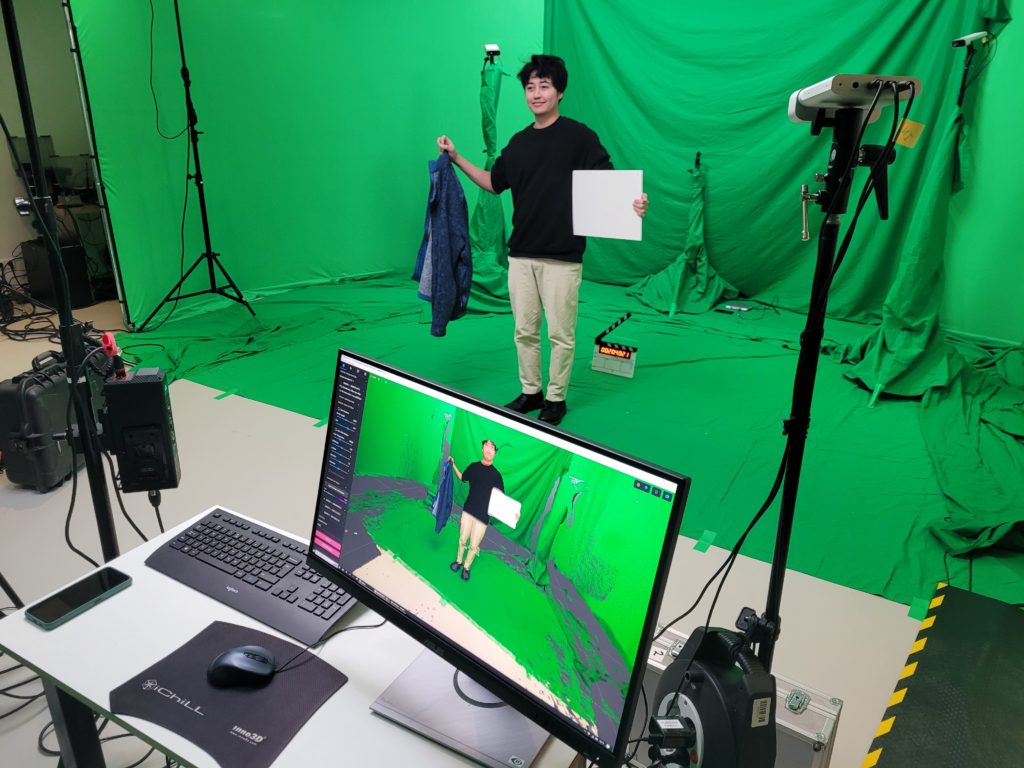
What we’ve learned in this capture session is that despite our experience with Depthkit, the software still feels very much like it’s in an alpha state; there were many crashes during the capture takes. The software doesn’t feel ready for prime time yet, especially considering the hire fee that Scatter is asking. We are in close contact with the CEO of Scatter to resolve these issues. They are, in that sense, a great partner in our project and willing to accept our suggestions to improve their software.
The digital twins can be imported fully rigged in Unity. We need to take more photographs of the performer in order to reference the human against the digital twin. We only took a frontal portrait of the face this time; next time we need to also take profile shots and 45-degree angles. We also need to take photos of the sides and back of the body. We need to think about how to make a T-pose photo of the performer that is proportionally accurate and lined up correctly.
For the face live capture in iClone, it would have been very useful to also record a video of the performance so we can match the facial animations in iClone with the actual performance.